

People get ready,
Call a babysitter if need be,
Come back early from work,
Shower,
Put on nice clothes,
Do their hair,
Do their makeup,
Tie their ties,
Get into the car,
Sometimes drive halfway across the country,
And arrive at the Bat Mitzvah celebration.
And it’s all very exciting because this time we invited everyone to our daughter’s Bat Mitzvah.
And it wasn’t so obvious to us that everyone would make the trip to Jerusalem during the frightening days that followed a string of attacks this past October. Or that it would rain a little that morning, just enough to wash away the dust, so that the evening would be filled with clean, cool Jerusalem air and a swift breeze you could feel out on the balcony overlooking an amazing view of the old city of Jerusalem.
I’ve already written about the Bat Mitzvah reception filled with hugs and kisses and appetizers, and place cards that tasted like chocolate.
By now, everyone is invited to enter the main hall and take his or her seats around the decorated tables.
The centerpieces
You can use flowers of course, they add plenty of charm, or go completely sans centerpiece.
But we tend to like things a bit more complicated…
Which is why we set out to create decorations that would be beautiful and interesting to make, and at my insistence-wouldn’t wilt.
Throughout the process-which ran a course of several months-we managed to make numerous trips to the craft store, since no one could have predicted how many pins and papers would be necessary to make thirteen paper flower globes.
But we managed to turn the process into a shared family project, fun for all ages, pretty good, no?
Like I’ve already written in my first post about the Bat Mitzvah, we had a hard time deciding on just one color scheme for all the decorations and invitations, which is why we decided to make two different types of centerpieces, in black and gold and in turquoise.

The materials we used for each centerpiece (not all are pictured):
- A Styrofoam ball (6 inch/15 cm circumference)
- Acrylic paint in black or dark turquoise
- Sponge paintbrush
- Gold or light turquoise paper (and you will need a lot, trust me I speak from experience)
- A flower-shaped hole punch
- Sewing pins with a pearl tip – almost 200 per globe(!)
For the stand:
- A glass jar
- A rounded wooden stick with ½ inch circumference and about 30 cm in length
- A rectangle made of designed paper that fits the jar (in our case, silver wrapping paper with white polka dots, measurements later on)
- Plaster powder, about a cupful depending on the size of the jar
- Water
- Container to mix and spoon
- Power drill
Directions:
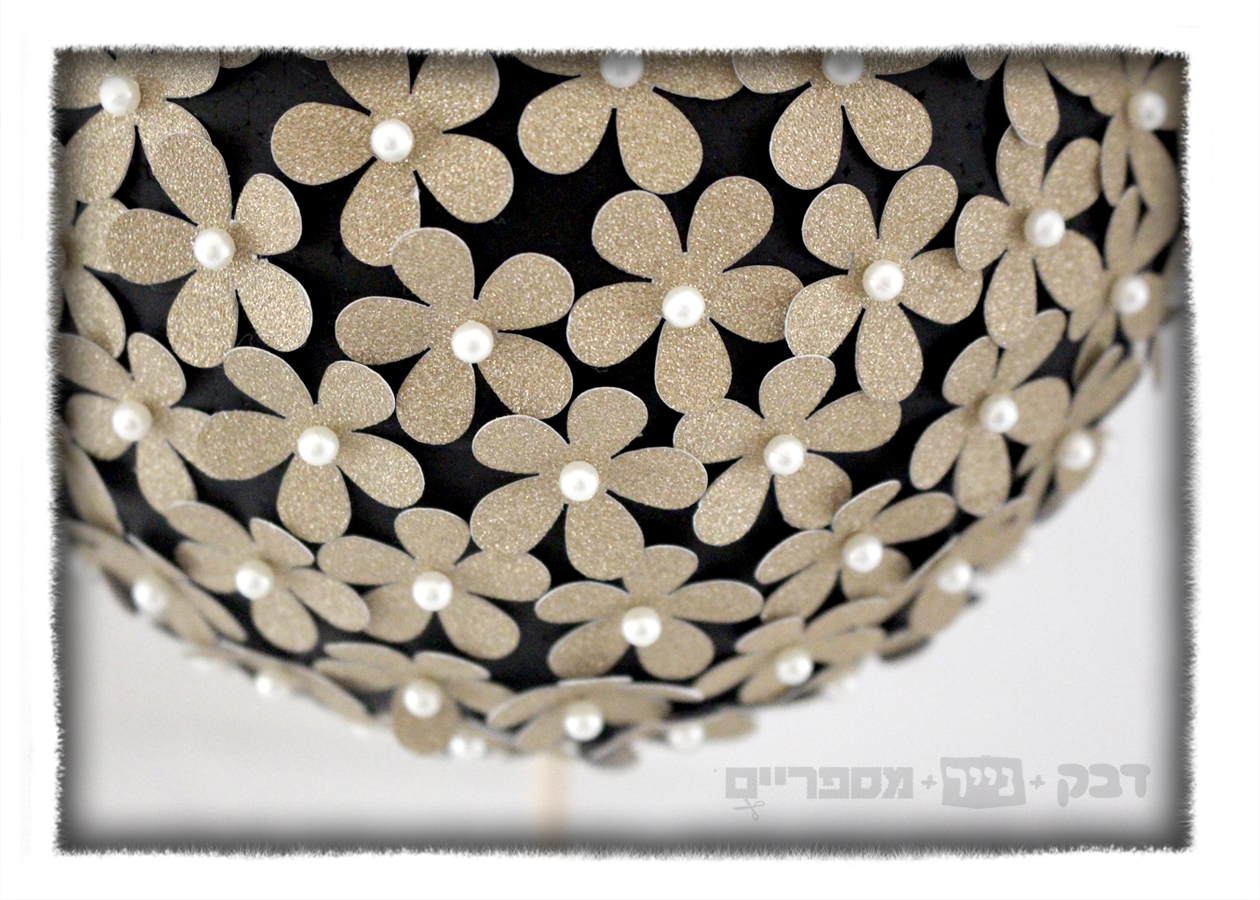
Paper flower globes
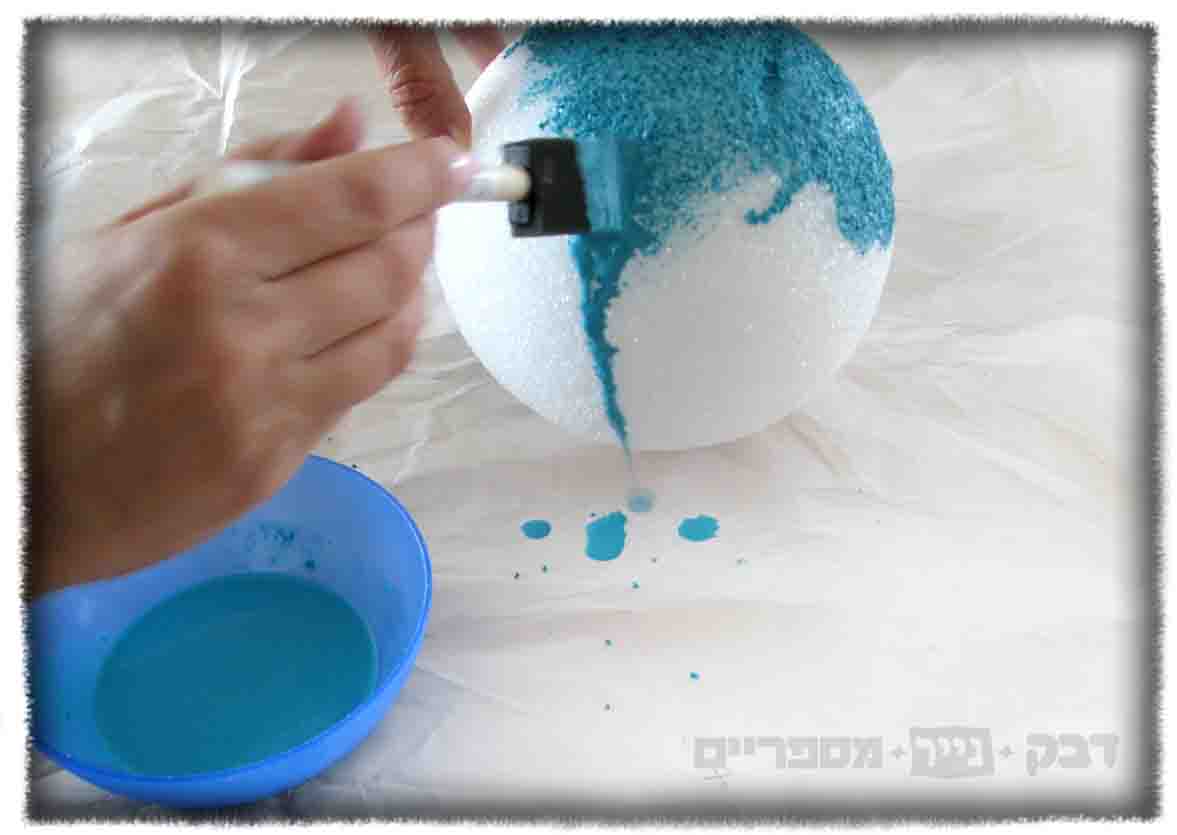
The first step is to paint the Styrofoam ball with the acrylic paint. It’s best to give two coats, waiting an hour in between each one and giving it another hour to dry afterwards.
We discovered it’s easier to paint the globes if you stick a skewer in it first, which allows you to hold the stick as you paint. The resulting lollipop-looking decorations can be stuck into an overturned shoebox to dry.

We cut out about a million paper flowers.
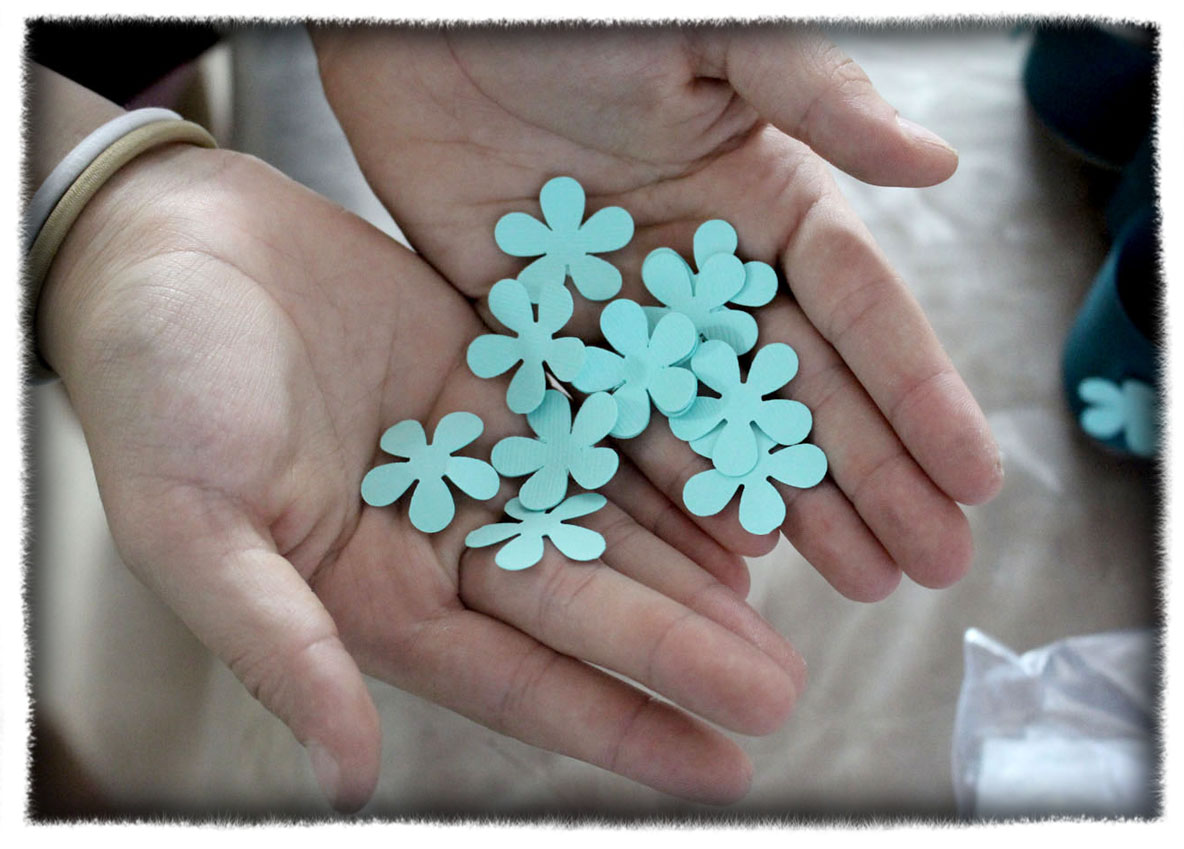
We folded the petals of each flower upwards to give it a curved shape, and began to pin each flower into the styrofoam ball.
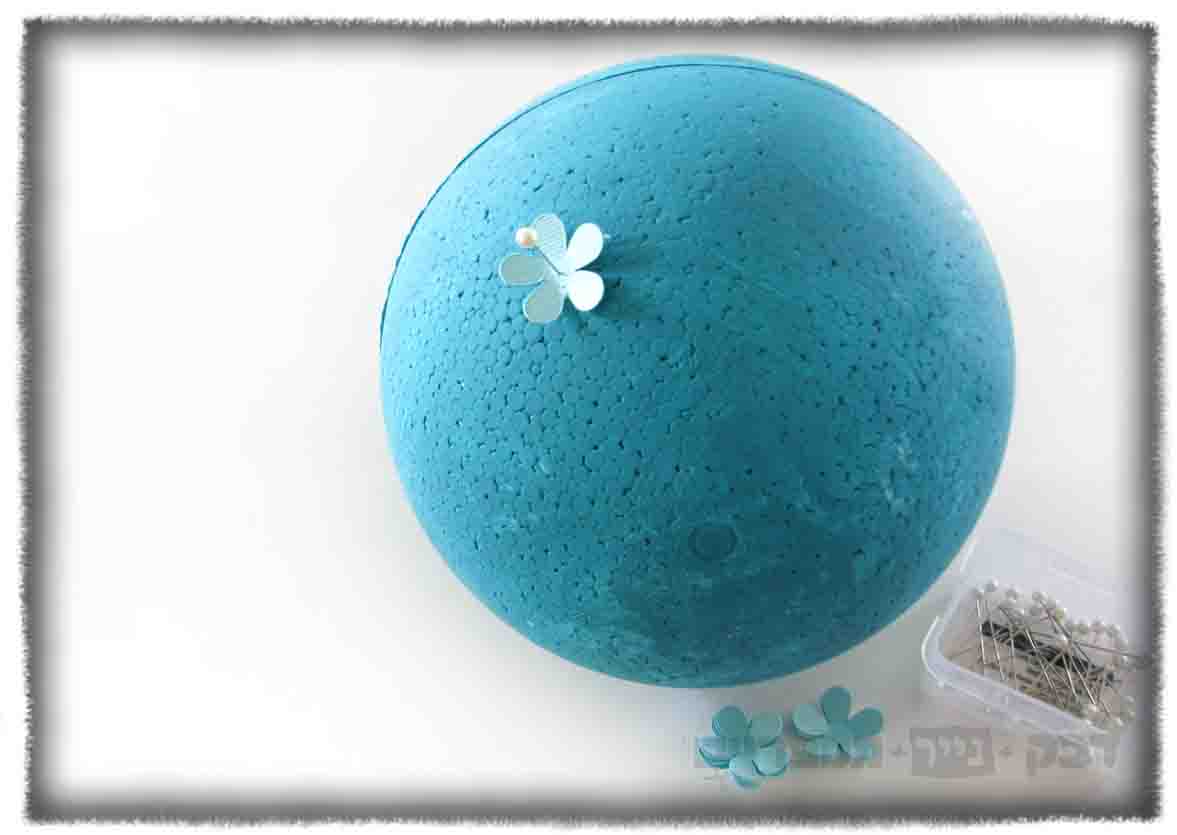
We were pinning the flowers next to each other, overlapping a little. We were pretty haphazard, there’s no need to be exact.

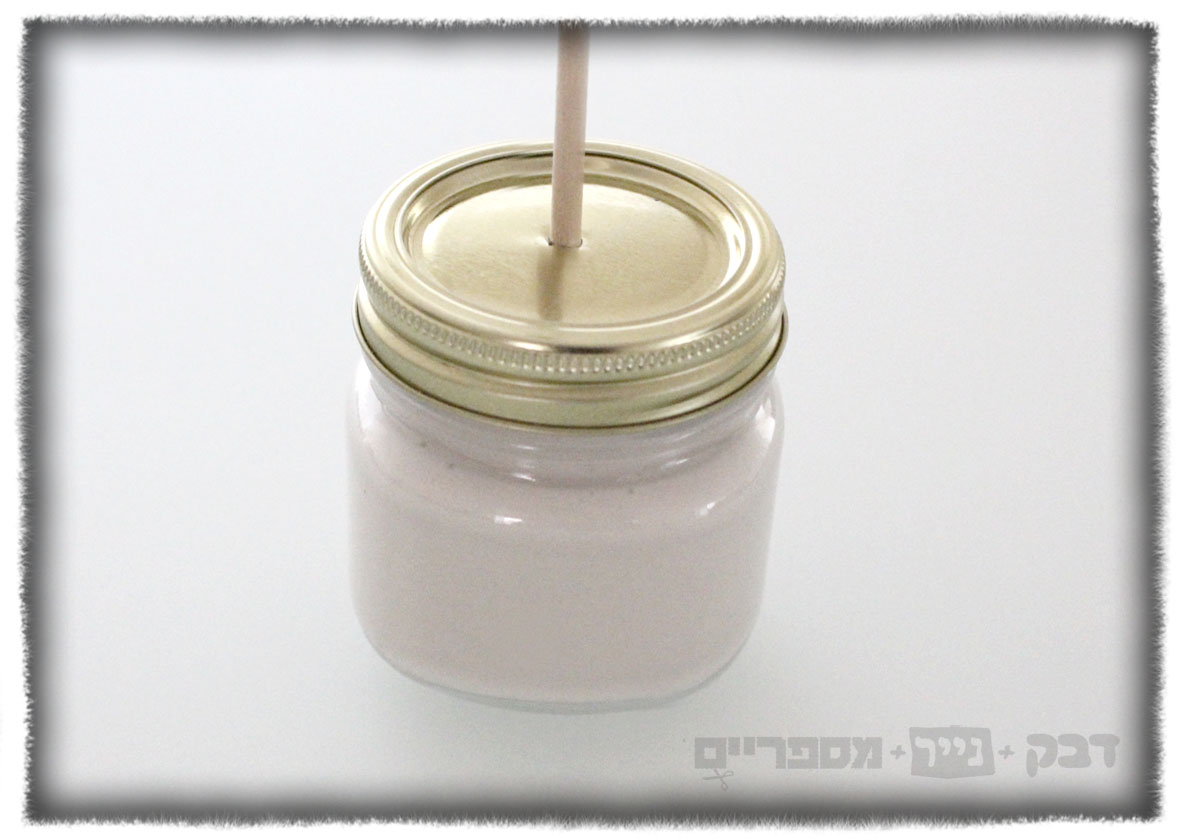
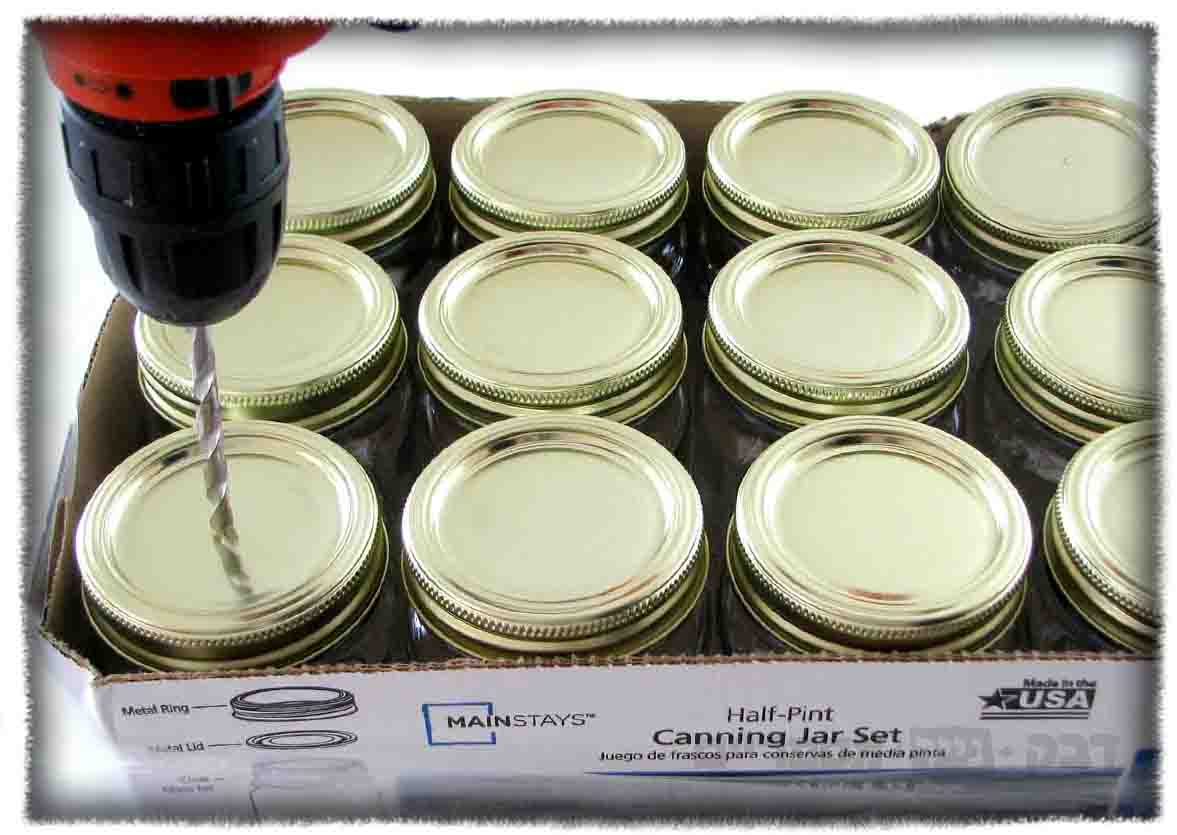
To make the base:
We drilled a ½ cm hole in the center of each of the mason jars’ lids (easier to do when the lids are screwed onto the tops of the empty jars). We made sure the wooden sticks fit in the holes.
Making the plaster:
This part requires speed: we opened the jar, mixed the plaster and water in a mixing bowl following the instructions on the package.
(It’s better to make the plaster in small quantities)
We poured the plaster mixture into the jars, immediately screwed on the lid, and stuck in the wooden skewer holding the globe. The plaster hardens completely in about one hour.
It’s important to make sure that the wooden skewer is sticking up straight and not lopsided because it’s impossible to straighten it after the plaster mixture dries.

Assembeling
All the steps so far were made ahead of time, and when we arrived at the Bat Mitzvah hall (much before the guests arrived) we put the flowers together, wrapped the wrapping paper around the jar using two-sided tape.
The wrapping paper rectangle needs to be long enough to wrap around the jar with an additional two centimeters and as wide as the height of the jar.
We stuck in the skewers holding the paper flower globe and-
Ta da!
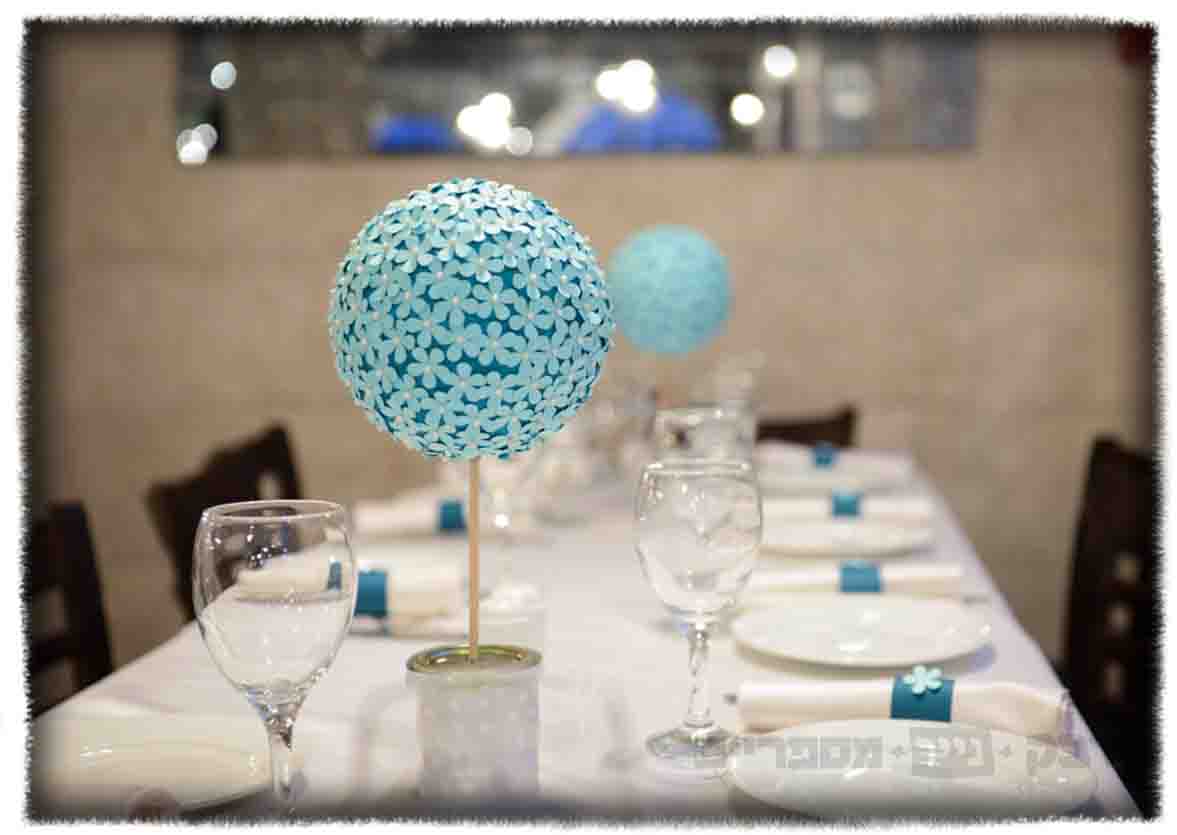
photo credit: Yair Chovav

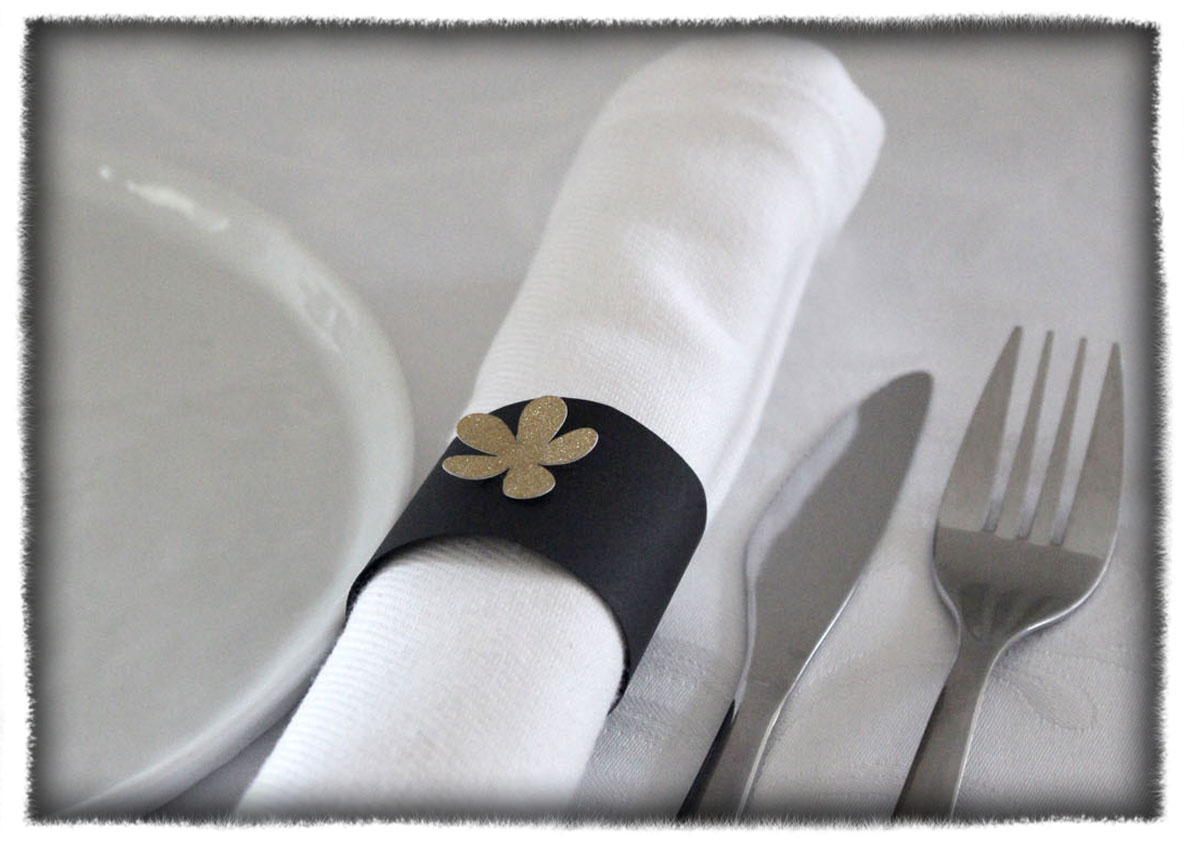
Napkin Rings:
To finish off the table decorations, we made napkin rings to match the globes, using strips of paper in matching colors (black and dark turquoise).

We glued a paper flower, and stapled the strip together to form a ring.


For every table we added a number, made of black paper and a number cut out of some of our leftover gold paper.

The good news:
Our beautiful flowered globes (yes, we fell in love along the way) and the numbers did not come home with us.
Instead we passed them to Tzofia S. who owns a company that sells and rents decorations, so you might see these decorations around! Want them at your own celebration? Contact me and I can send you a link.
Don’t forget to send me pictures!
And in the meantime – – –
The guests found their places, chattered as faint music played in the background (from a playlist on our laptop connected to the sound system). Ate good food (or so I’m told I was too filled with adrenaline to eat).
We showed the slideshow I had created, filled with baby pictures, family pictures, trips, hobbies, and even short clips of friends and teachers, who couldn’t make it, saying hello from faraway home
{ There might have even been a few makeup-smudging tears }
And for dessert – – –
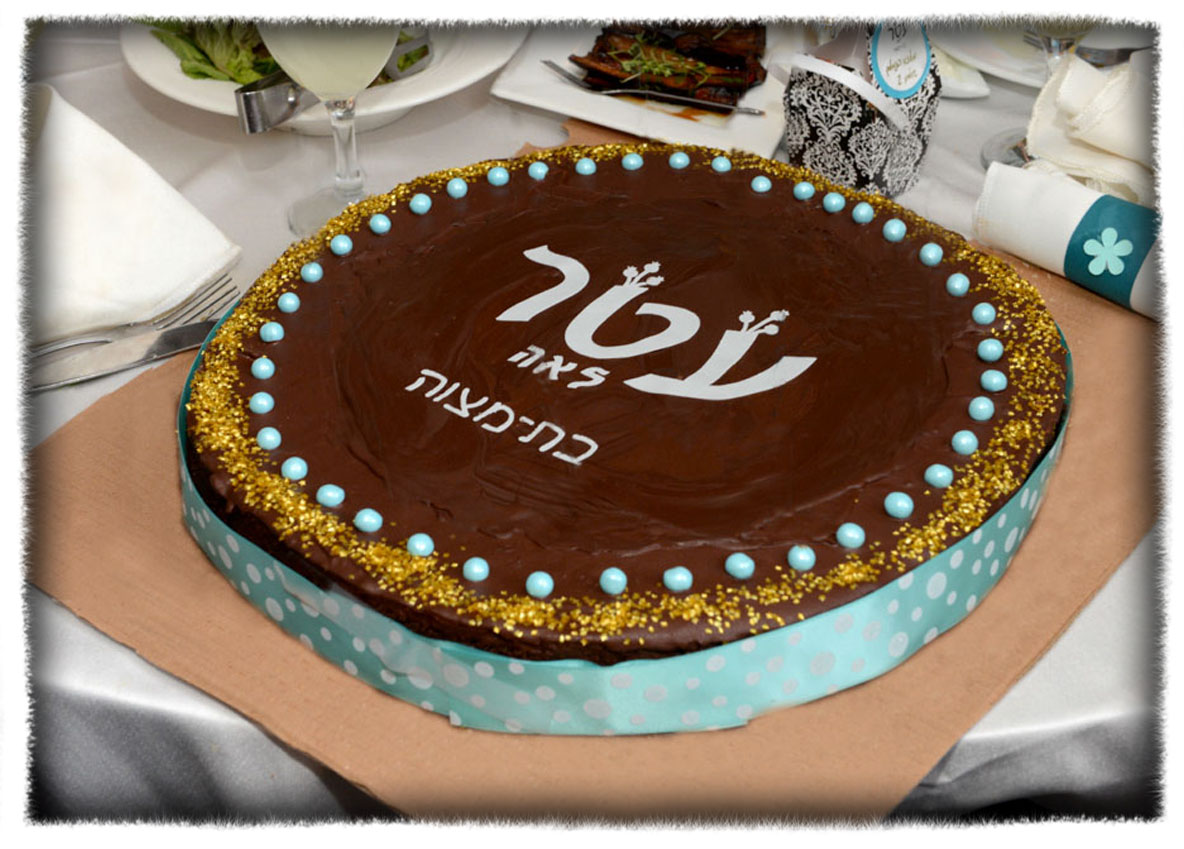
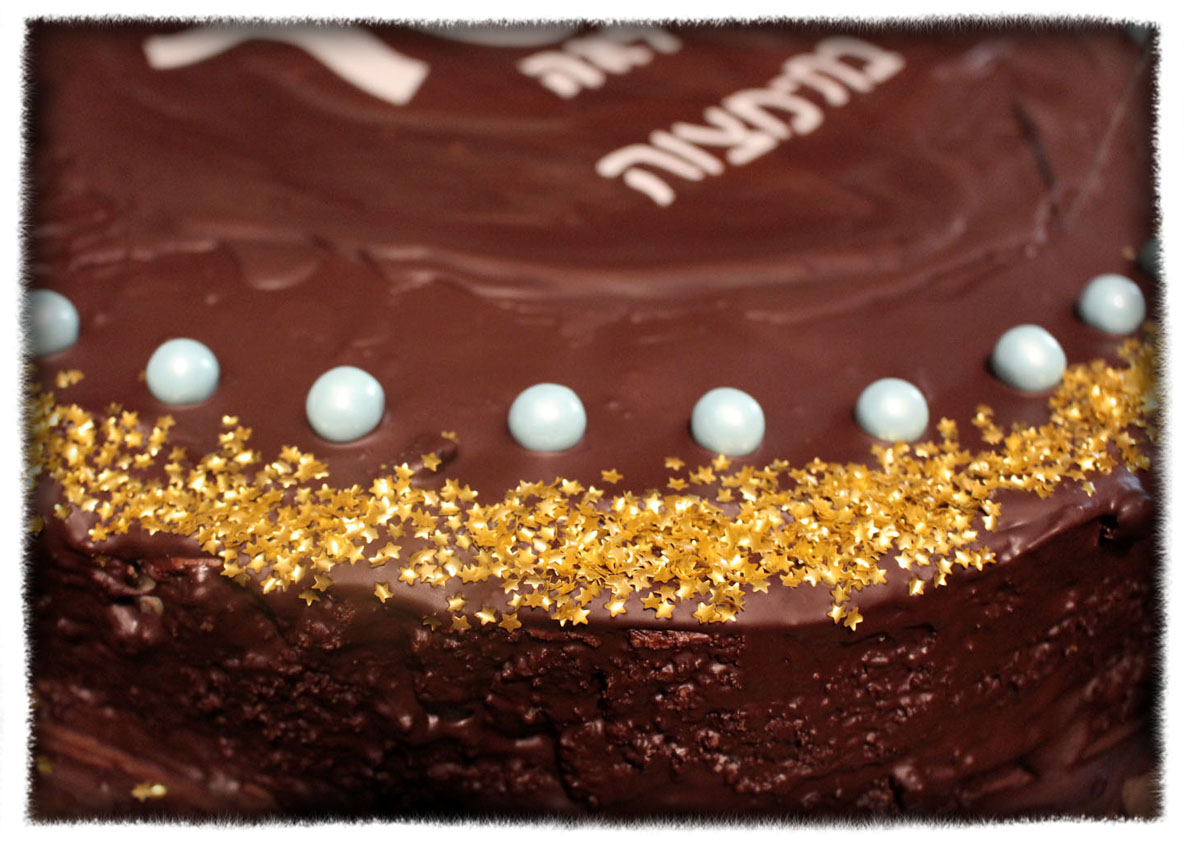
The cake!
In addition to all the desserts, there was also a chocolate covered cake with silver letters that I had cut out of sugar paper, and turquoise candies and a edible glitter crown.
And a ribbon (non-edible, but beautiful nonetheless).
It was beautiful
It was delicious
It was emotional
And most of all,
We were all very happy.
To be continued!
One more blog post about the Bat-Mitzvah is on it’s way, featuring the Bat-Mitzvah project Attar worked on for a whole year, competing it just in time to be displayed on the Bat-Mitzvah reception.
{ Now it is time to sign up for the blog :)) }


מעלף. מעלף . מעלף!
LikeLike
גלית! מחמאה כזו ממך גורמת לי להסמיק בפינה. תודה!!
LikeLike
זה כל כך מקסים!! נפלא!!
LikeLike
תודה!
LikeLike
Pingback: אלוהים נמצא בפרטים הקטנים | דבק+נייר+מספריים