

As I was wheeling my cart through my local supermarket’s aisles, thinking about the lights and meaning of Hanukkah, I met those
Teeny-tiny-itty-bitty tea lights.
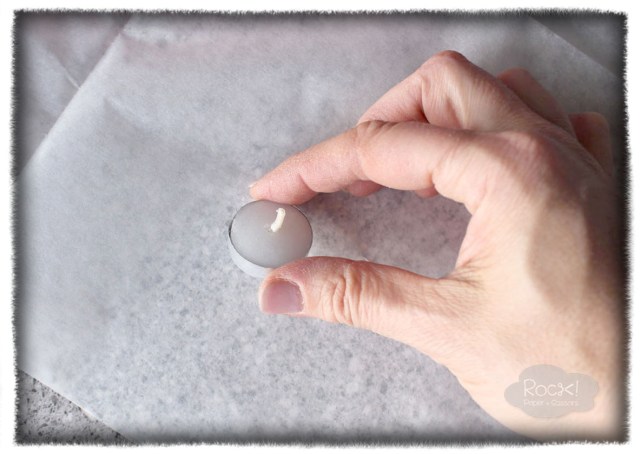
Knowing the store’s employees might get a bit concerned if I started start my “Eureka! I found my next project” dance, I tried my hardest to keep calm and collected as I grabbed them off the shelf, before anyone else could.
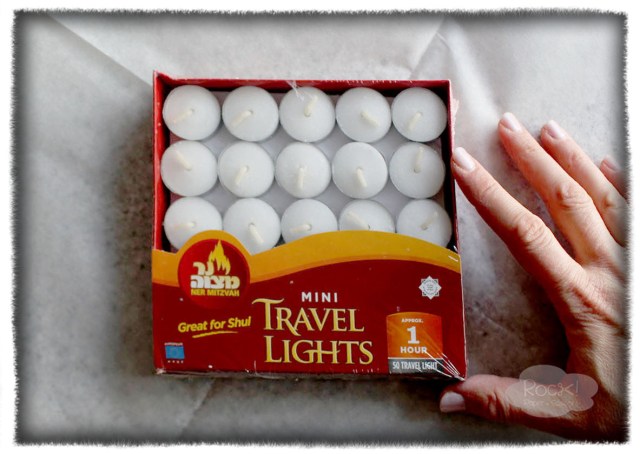
The tea light box clearly stated that they were intended for traveling, but creative minds never strictly follow directions.
“You are going to be my new Chanukiya,” I whispered to the tea lights garnering uncomfortable looks from innocent passerby.
I knew they were calling my name and begging to be turned into something fantastic, so I bought a box or two, and stopped at the local craft store on my way home (okay, it was a bit of a detour but I was a woman with a mission).
As I perused the store for non-flammable materials for my new Chanukiyah-to-be, I thought about how nice it was that Hanukah and Christmas fall on the same date this year, allowing for a plethora of holiday goodies to adorn the store’s shelves, and providing endless options for me and my brilliant idea.
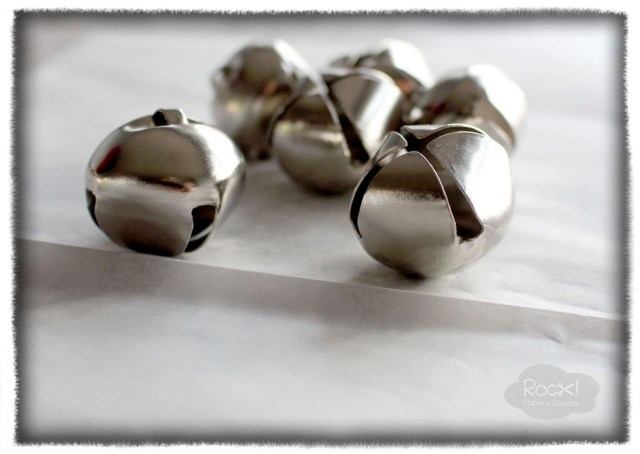
Among all the green, red, and gold baubles, and pine and cinnamon scented items, I found lots of jingle bells in all sizes and colors imaginable. I chose some beautiful big silver bells, and headed home.
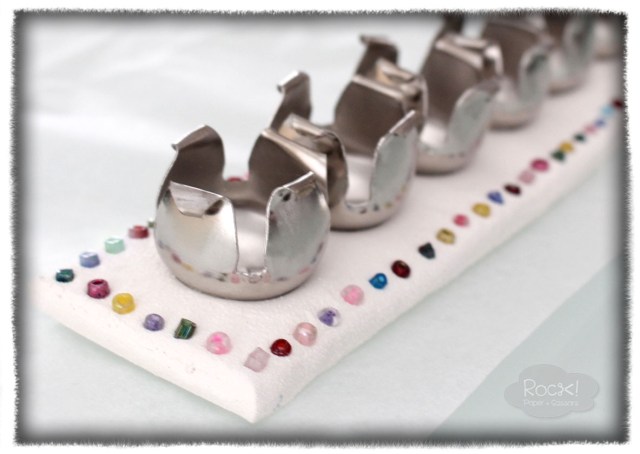
Bell Chanukiyah
Materials:
9 jingle bells – In a size that fits your candles
Air-dry Dlay (I used the Crayola brand, but most any will do)
Tools:
Rolling pin or a thick marker
Needle Nose Pliers
Baking paper to protect your surface
Optional:
Letter stamps or other shapes
Glass beads
Acrylic paint or spray paint

Directions:
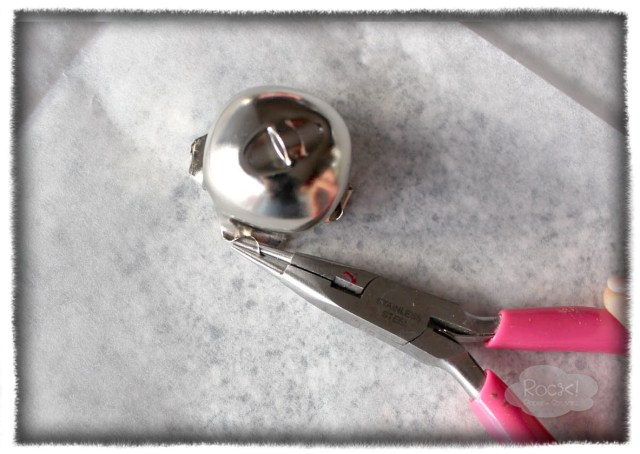
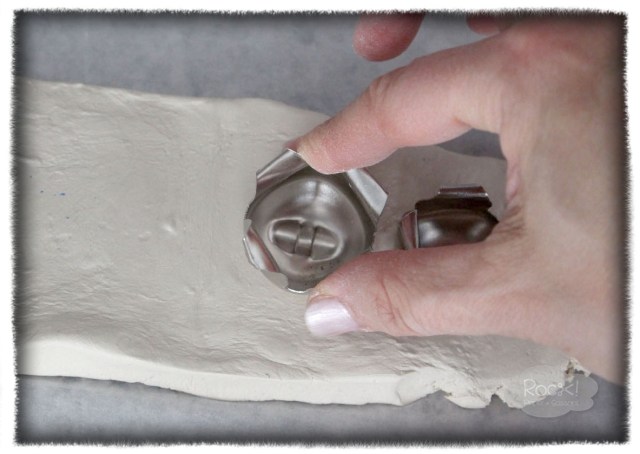
Using the needle nose pliers, twist out each of the four wings of the bell.
Get rid of the little ball inside.
Repete for all nine bells.
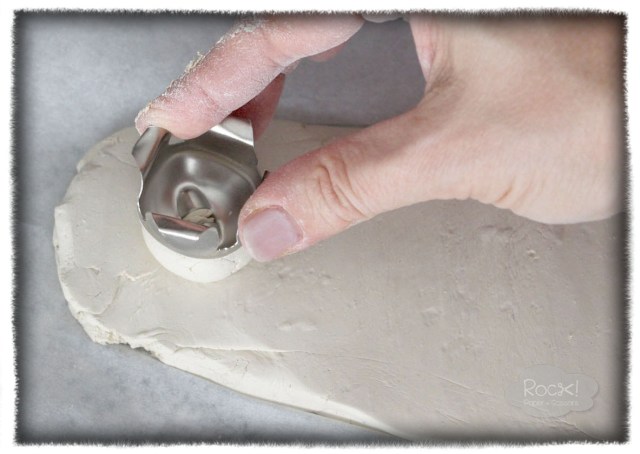
Protect your table with a baking paper. Kneed the clay and roll into a long shape, measure it so it can fit 8 candles plus a Shamash. Make sure the clay is about 1/4″ or thicker. You can also roll the clay between to layers of baking paper to keep the rolling pin clean.

Make a little ball of clay to raise the Shamash.

Plant 8 bells into the clay in a straight row, and the Shamash onto the ball.
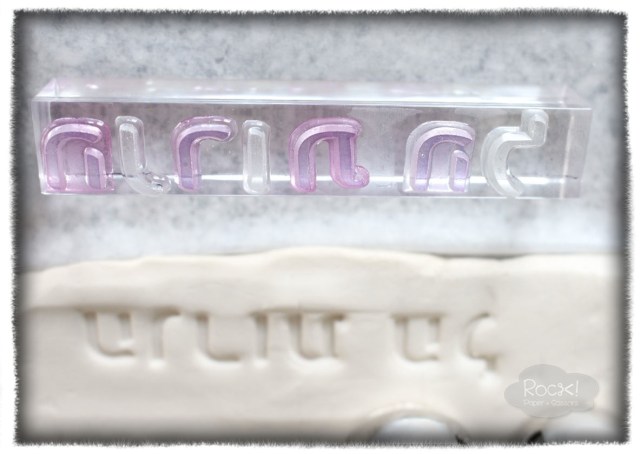
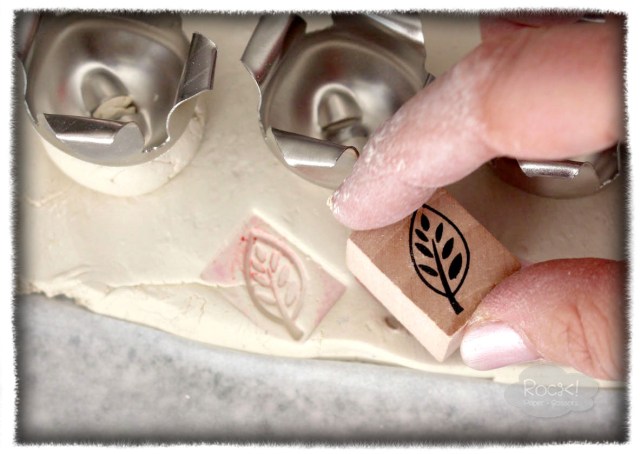
Decorating options:
Use acrylic or rubber stamps to create words on the clay.

And/or use any little stamps to create design or texture.
או לנעוץ חרוזי זכוכית צבעוניים ושמחים
Let dry until completely hardened. The clay package says it should take two to three days to harden.
You can paint the clay parts when it dries with acrylic paint, or spray paint the whole thing.
But I like to leave it like that.
Simple and elegant, and oh so beautiful when lit up.

~~~~~~~~~~~~~
A new blog post is on its way… Stay tuned!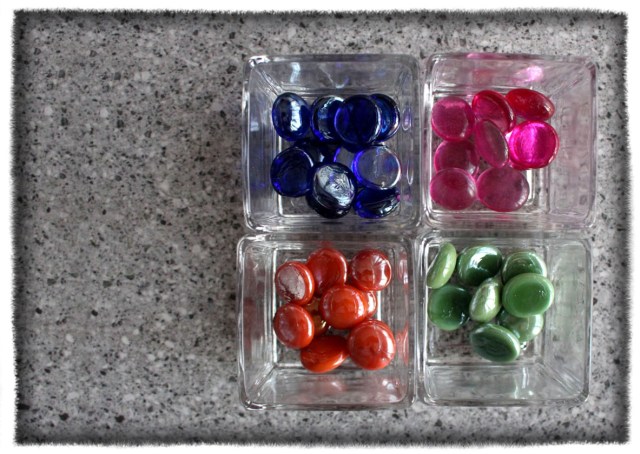
~~~~~~~~
Hope there will be more posts for Chanukah
For now I’m busy keeping up with all the orders the holiday time brings;
Festive Holiday Table Decorations

Gifts for New Babies


Personalized Gifts for Momentous Occasions


and For all the celebrations life brings.

If you’ve reached this point and still haven’t subscribed, what are you waiting for?


