
 So many words have been said about mothers.
So many hugs and smiles.
So many cards that moms keep forever. All over the world.
Here is a cute and easy DIY Mother’s day card tutorial
for all moms,
that even little fingers can create, just to say –
I LOVE YOU, MOM!
I’ve created this short video, so you can look and learn how to make your own styrofoam stamp, to use for Mother’s Day cards, or for any other occasion, and use this fun and easy technique for many other art activities with kids { or without }:

You will need:
- cardstock paper, letter size -> one or more
- a styrofoam tray (like the ones that come with veggies, washed and dry)
- not-so-sharpened pencil
- scissors
- acrylic paint
- paint brush
- a paper plate or any other dish for paint
- Washi tape – optional

Short explanation:
- Fold the paper in two, to create a card
- Using scissors, cut edges of the tray, so you have a flat piece of styrofoam
- Make sure the styrofoam fits the folded paper
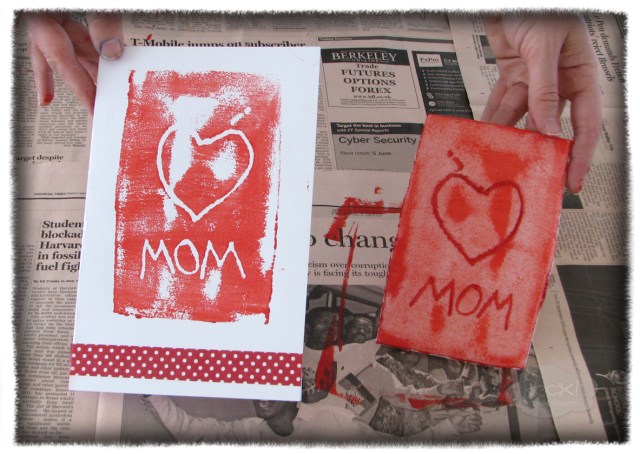
- Draw and write on styrofoam with the pencil. It will actually engrave the drawing in the styrofoam, to create a stamp.
Tip: if you are writing, make sure you write mirror-facing.
{ In this case, the word MOM looks the same both ways} - Pour a little drop of acrylic paint on the paper plate, and apply the paint onto the stamp you have just created in a thin layer
- Print your stamp on the card’s cover
- When dry, Decorate with Washi tape (optional)
- Make more and more and more and enjoy every minute 🙂


