

Our family celebrates two winter birthdays with family and friends.
We had a nice Friday-night dinner with 18 people around the table, lots of food, and enough leftovers to last at least a week { or too… }.
Sit-down dinner
We wanted our guests to feel comfortable at the table, and not to walk around with their food; There were families with little children, and we wanted to avoid finding food scraps and spills later, in every niche and crevice.
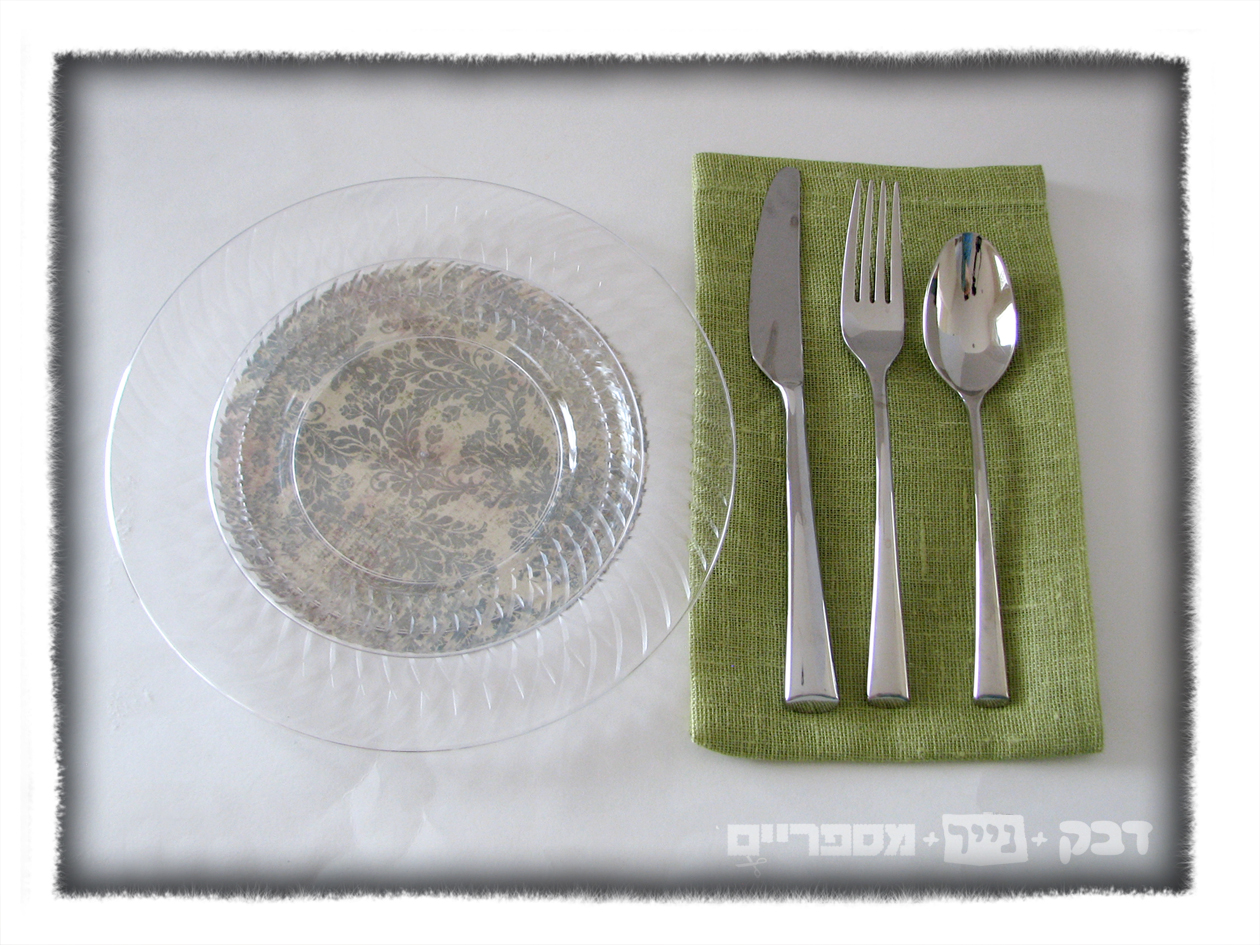
We opened all the leaves on the dining table, added more tables, dragged over chairs from every corner of the house, and spread a crisp white tablecloth. Then we started debating: real dishes and cutlery (which we’d have to wash afterwards, times 18) or disposable (to the chagrin of the environmentalists among us)? Since we don’t have such a big set of dishes, and we had no time to get elegant party goods, we had to use the ones we had: rather anemic clear plastic plates. Fortunately, what we lacked in shopping we could make up for in ingenuity.
Time to upgrade with our endless supply of creativity and decorative patterned paper!

Materials:
- Clear disposable plates
- Decorative paper according to taste – all the same, or a wild variety of colors and patterns
- A pen or a pencil
- Glue stick or runner glue
- Stapler
- Sharp scissors

Directions:
Staple the corners of several pages together, to minimize cutting (up to seven sheets, if your papers are thin and scissors are very sharp).

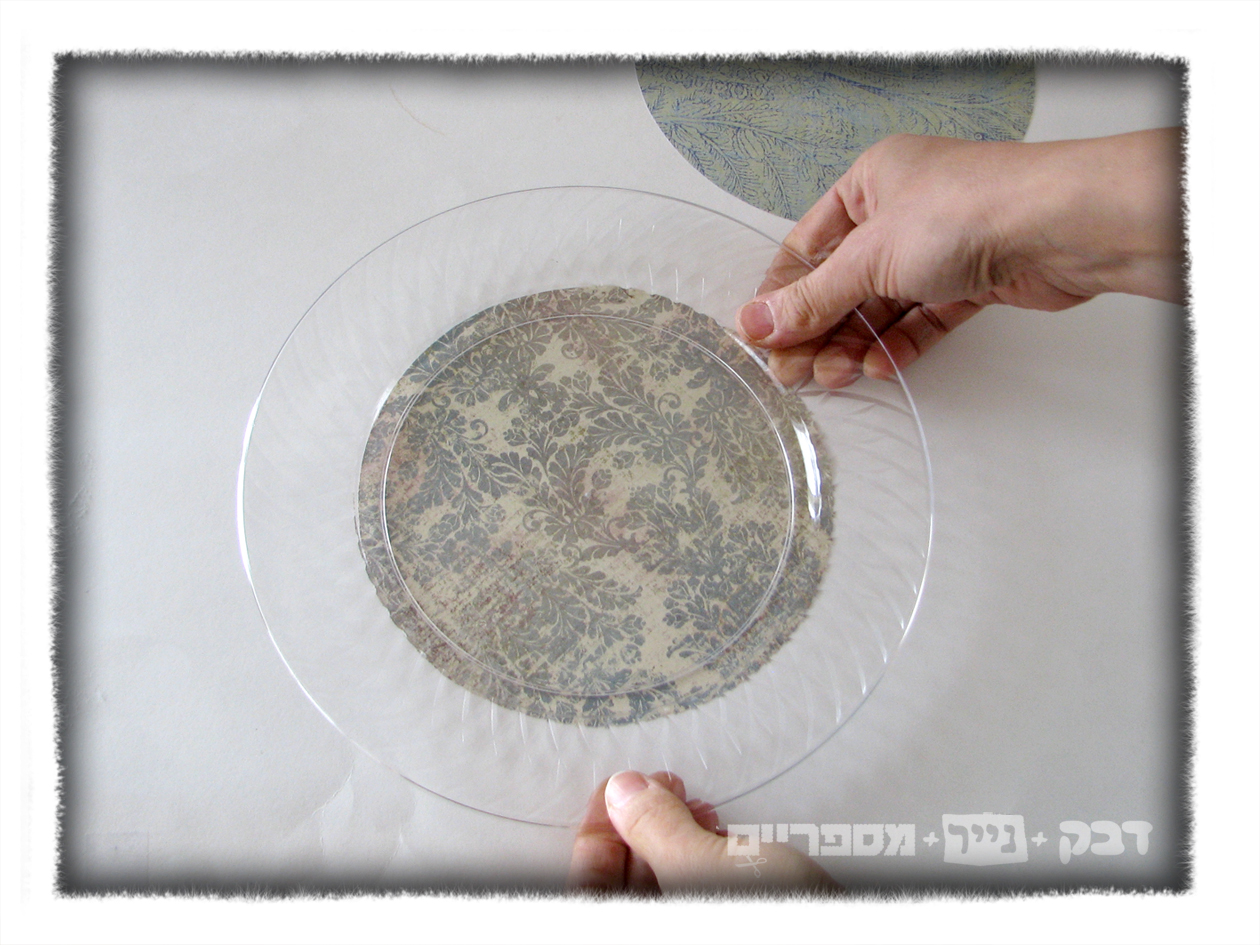
On the back of the bottom sheet, trace a circle the size of the base of your plates (you may find a small plate that is about that size, which can serve as a stencil).

Cut out the circles – it goes faster than you’d expect, and it doesn’t have to be perfect.

Place a little dot of glue in the middle of each sheet – on the patterned side – and stick it to the underside of a plate.
Voila! Fancy plates!


Flower rolls
Believe it or not, making these flower-shaped rolls is simple and fun – that is, for anyone who, like me, enjoys playing with yeast dough. I started with my usual challah recipe, made dough balls, and pressed an apple slicer halfway in to create this cute design. Then I let the rolls rise, brushed them with egg, and baked them as usual.
{ ……. }
I’m taking the liberty of skipping the appetizers, soup, and main course – that’ll be up to your hosting instincts – and getting right down to the most important part: Dessert!
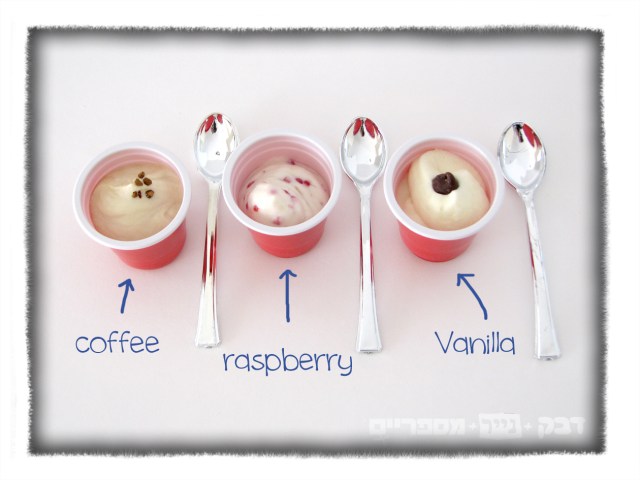
Ice cream samplers:
Ice cream is always a popular choice for dessert, whether it’s homemade or store-bought. The dilemma is how to serve it: buffet-style? plated servings? ask every guest what combination of flavors he or she wants? By the time you’ve served the last guest, the first one’s ice cream has melted.

So we came up with this novel idea: ice cream samplers. We prepared our (signature) homemade ice cream and froze it ahead of time in plastic shot glasses, so our guests could choose their favorite flavors, try them all, take seconds and thirds (who’s counting?), forget about their diets, and end the meal on a happy, satisfied note.

Jello® slurps
Jello® (or its equivalent) is so silly and childish… it’s just about the best thing in the world!!
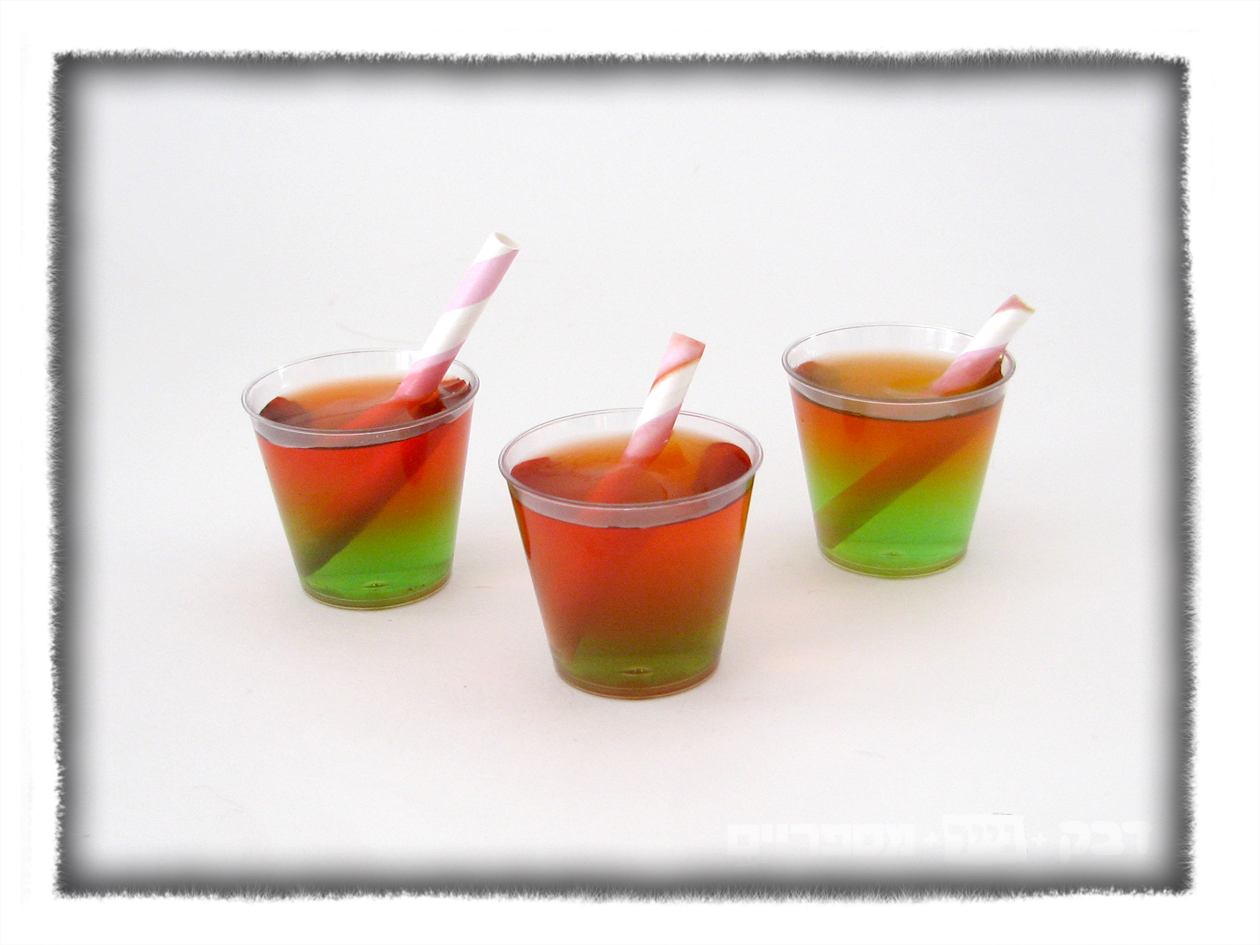
If you have time – in the midst of cooking a thousand other things – you can make tri-colored Jello®. We used traffic light colors: green, yellow, and red. You will have to mix the first Jello® powder with hot water, let it cool a little, and then pour into cups. Refrigerate for about an hour, then repeat with the next color, and then third…. It can be a long process. But even single-colored Jello® slurps will work just fine!
When I was making them, I was hoping to finish and hide them in the refrigerator before the kids came back from school. Uh-oh! I didn’t make it! With only moments to spare before a full-on Jello® attack, I came up with a solution: recruit the kids to work! They rolled up their sleeves, washed their hands (with soap!), and started mixing and pouring. As payment, I let them “clean out” the mixing bowls. Whew!
I found some paper straws, probably left from a party long ago, and cut them in thirds with scissors. The kids planted one straw in each cup.
It was a big hit! Not only did the cooperative preparation save the project from extinction, but it generated a lot of excitement. Guests young and old enjoyed sipping up the Jello® cups, even competing to see who could empty them fastest. We will definitely add this trick to our impressive (-but-very-easy-to-make) party food list!
Marshmallow hearts
A few weeks ago I found this homemade marshmallow recipe, and I knew I had to try it.
Homemade marshmallows????
I never thought it possible!
I had no idea what marshmallows were made of, and I somehow thought they must contain a lot of eggs. But I was wrong.
Marshmallows, at least the ones I made, are made of sugar, corn syrup, (vegetarian) gelatin, and a little ice water – with some precise heating and about 15 minutes of whipping.
That’s all.
I followed the instructions uncharacteristically carefully the first time, and they came out well, but I couldn’t resist making some typical-for-me improvements on the second batch:
- We added a few drops of red food coloring, because pink marshmallows make you even happier.
- I skipped the salt that the recipe calls for (due to complaints on the first batch).
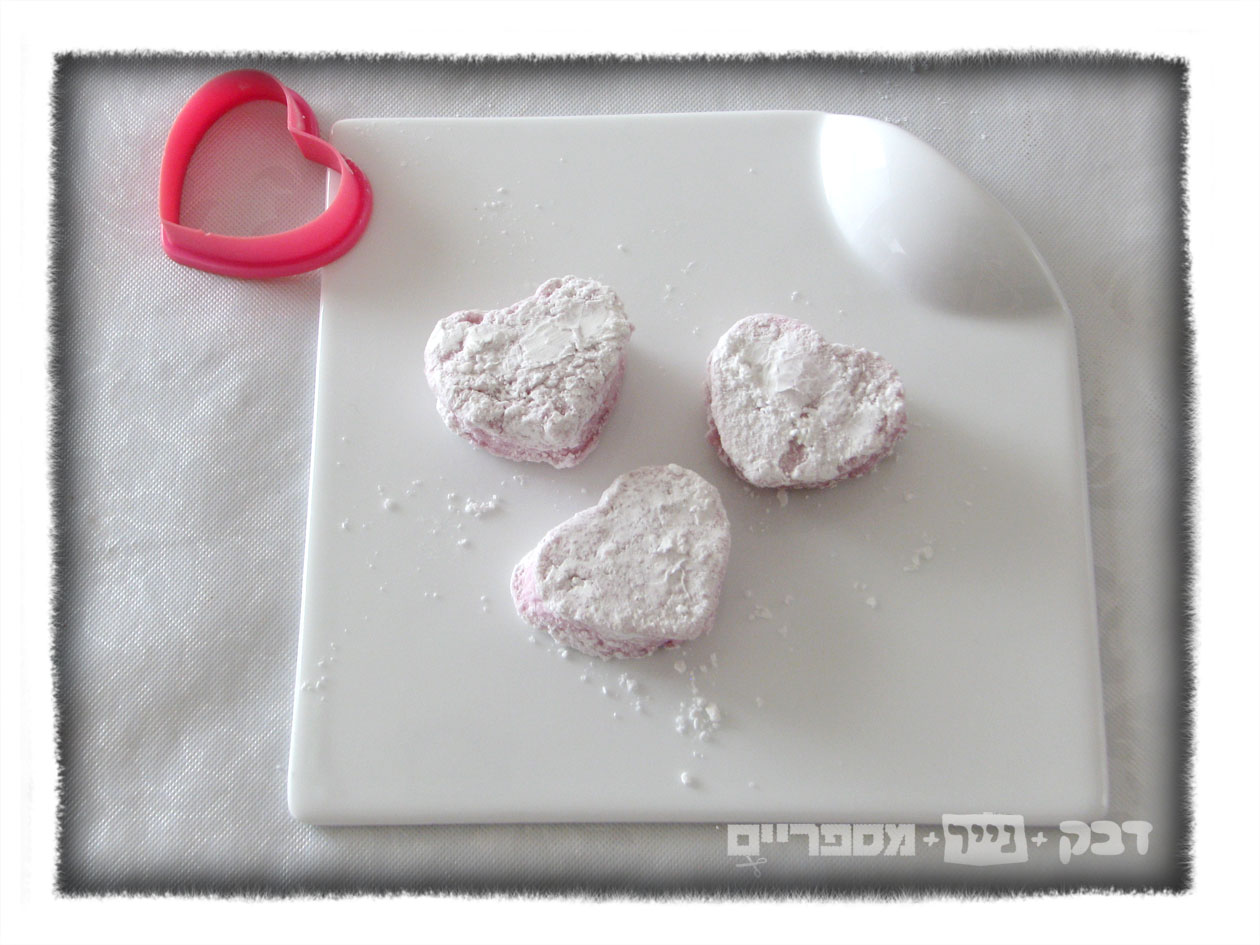
- Instead of cutting the marshmallow into squares (my kids said they were boring), we used a heart-shaped cookie cutter (my kids’ brilliant solution!).
- The original recipe says you should roll the marshmallows in a mixture of powdered sugar, to make sure they don’t stick to each other. Although we generously covered the marshmallows (and the whole kitchen and the universe, it seemed) with this white powder, the marshmallows were still slimy and sticky.
The kids (again) came up with the suggestion that we can let them dry on the countertop and see if it helps. We gave it a try (partially covered with an upside-down bowl) overnight, and the results were so good, we decided to dry the outer layer of all the pieces the same way from then on. Good thing we don’t have ants!

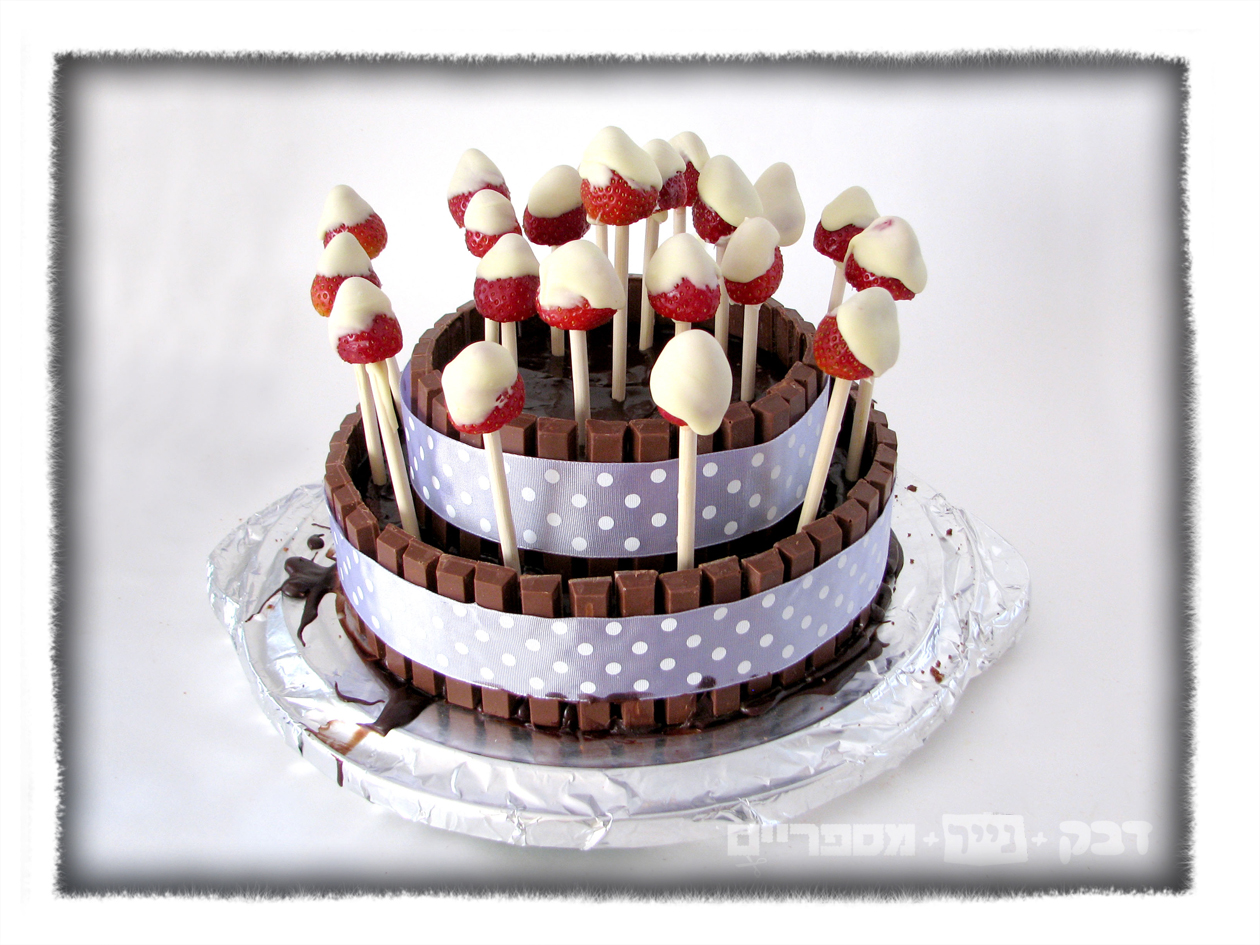
Impressive {but easy-to-make shhhhhh} Birthday cake
To create this cake you do not need and fancy cake decorating skills!!!
It is so simple to make, no special equipment needed, no molds, no icing bags and pipes and no food coloring!
The most difficult skill you will need is to unwrap many many many bite size KitKats®bars.
The design is totally inspired from pinterest – except for the “candles” idea, that I came up with myself.
I used my favorite chocolate cake recipe, but it can be made out of any fluffy chocolate cake, or another flavor if you want (with apologies for offending the chocoholics among us!), or if this is too challenging you can use two boxes of cake mix.

I prepared one and a half times the standard (9” round cake pan) recipe, and poured the batter into two round pans: one 9″ and one 6″.
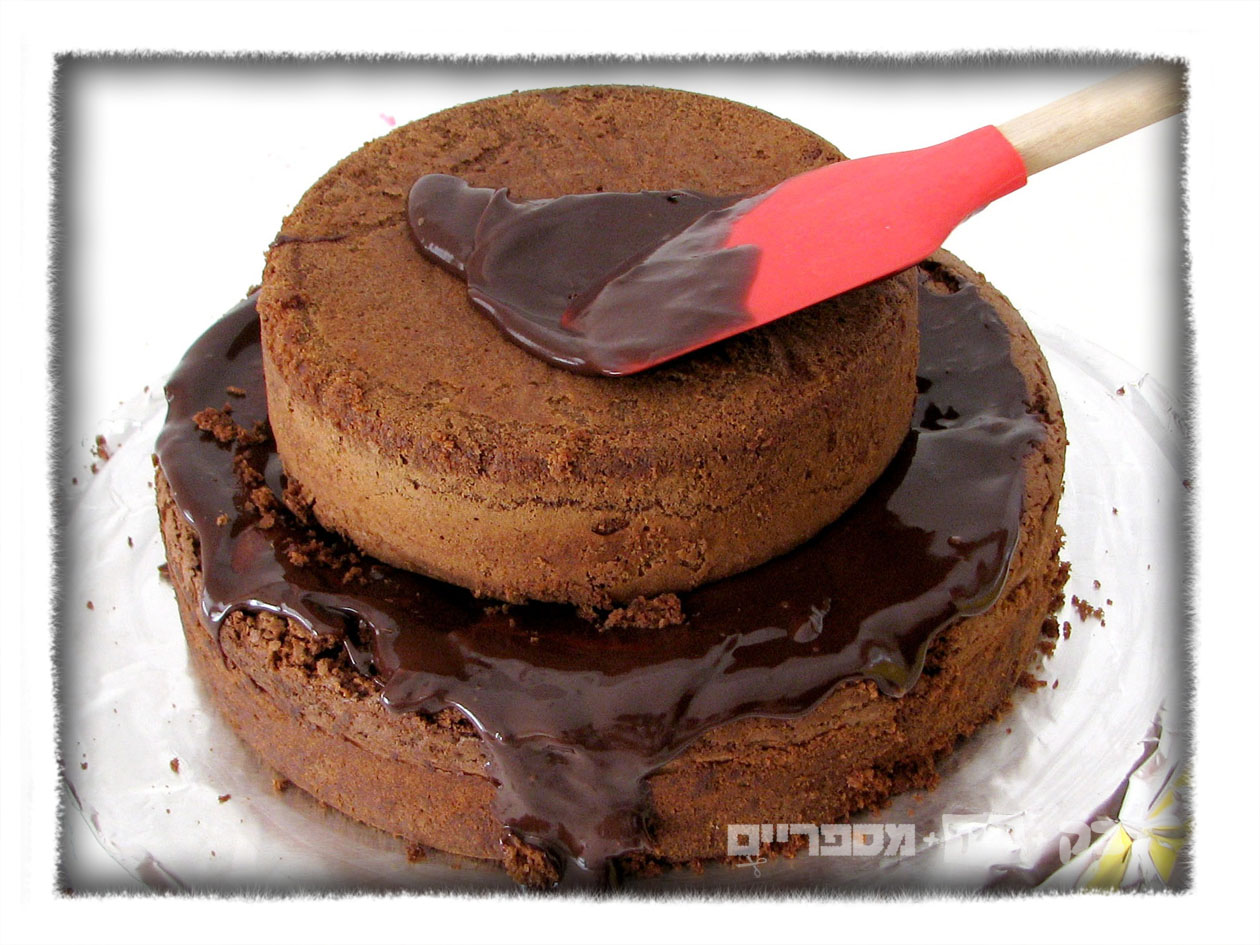
For the ganache, I melted 12 ounces of chocolate chips, with 1-1/2 cups of heavy cream; 30 seconds pulses in the microwave, stirred gently, put it back into the microwave for another 30 seconds, and stirred again until all the chocolate was melted and the ganache was smooth.
Using a spatula, I spread the ganache on the bigger cake, then placed the smaller one on top and frosted it, too.

You won’t believe how many bite-sized KitKats® I needed!!! I used 75, but some broke and I had to eat them…. If you are making a bigger cake, you will need more KitKats®, of course.
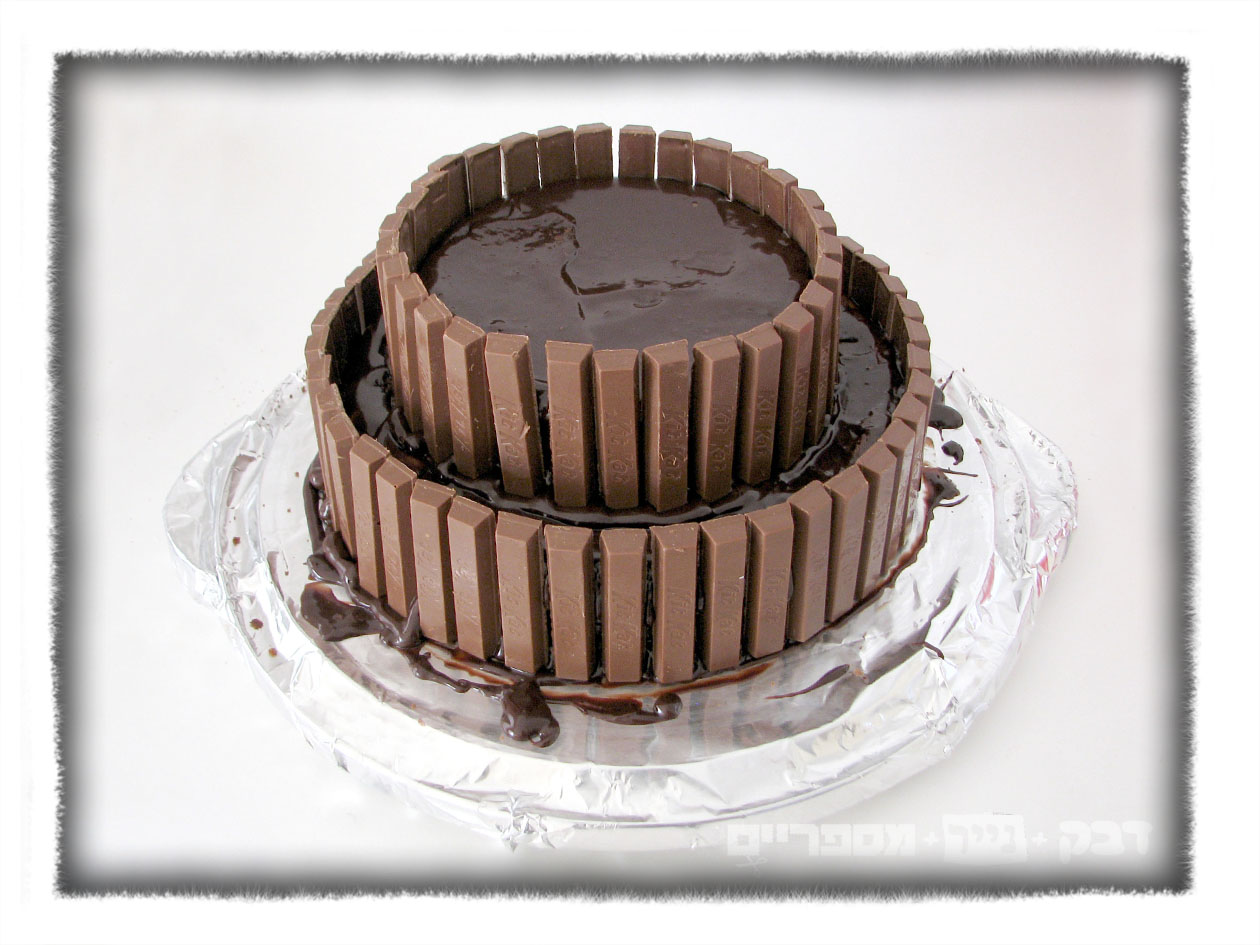
When I finished the fortification of the cake, I wrapped it with fabric ribbon, which I taped together.

For the edible candles, I dipped small washed strawberries in melted white chocolate (with a tiny drop of oil). I had found skewers in the baking aisle at Michael’s once and had no idea what to do with them – until now. I found that a Styrofoam egg carton (empty!) is a good vehicle for standing the candles upright until the chocolate hardens.
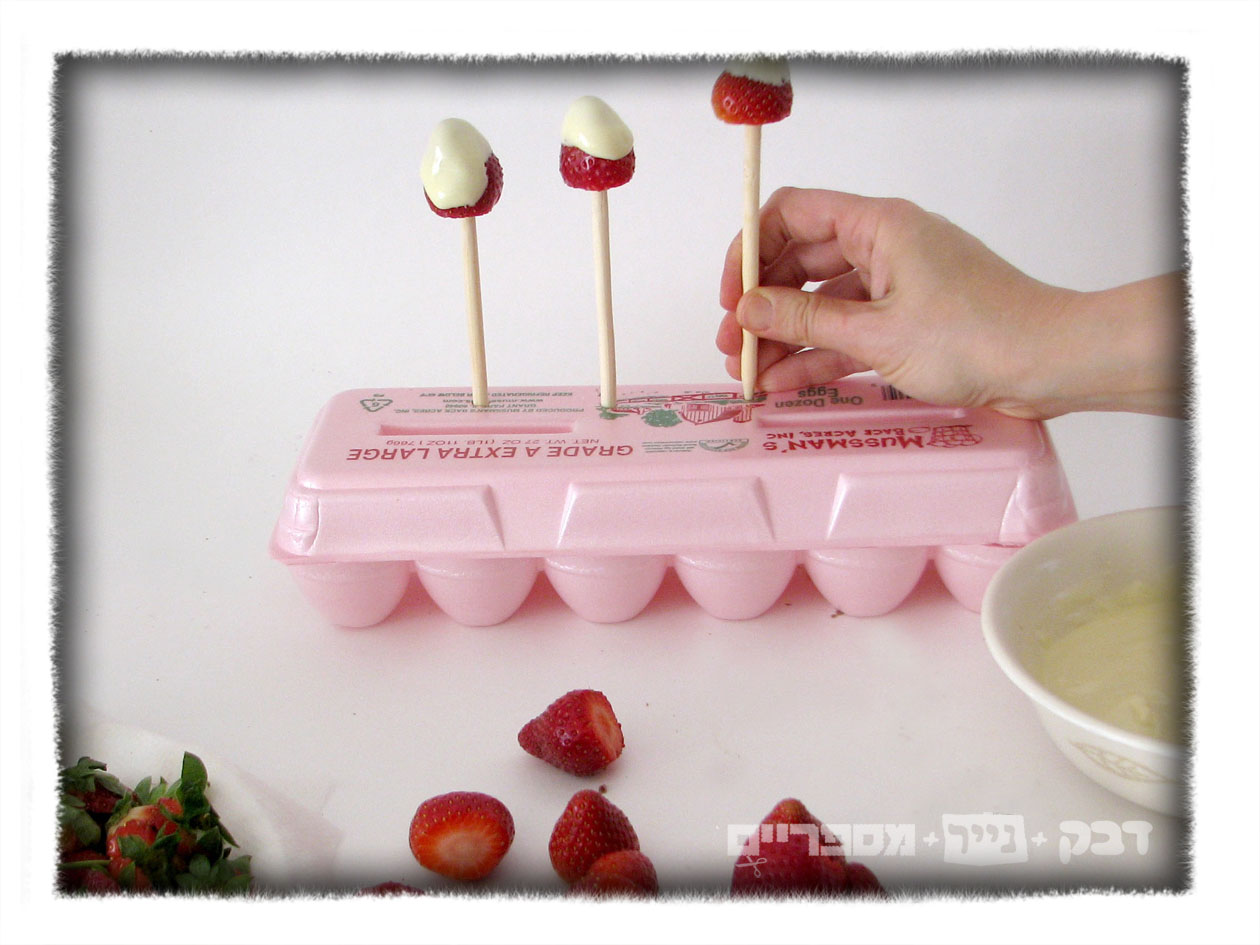
I placed the 18+1-for-good-luck edible candles on the cake.
TA-DA!!!!!!
{ Want to get more DIY ideas? subscribe now!
You can also leave your comment. I LOVE comments! —> { nice ones, of course… }


Pingback: מתוק כחול-לבן | דבק+נייר+מספריים